
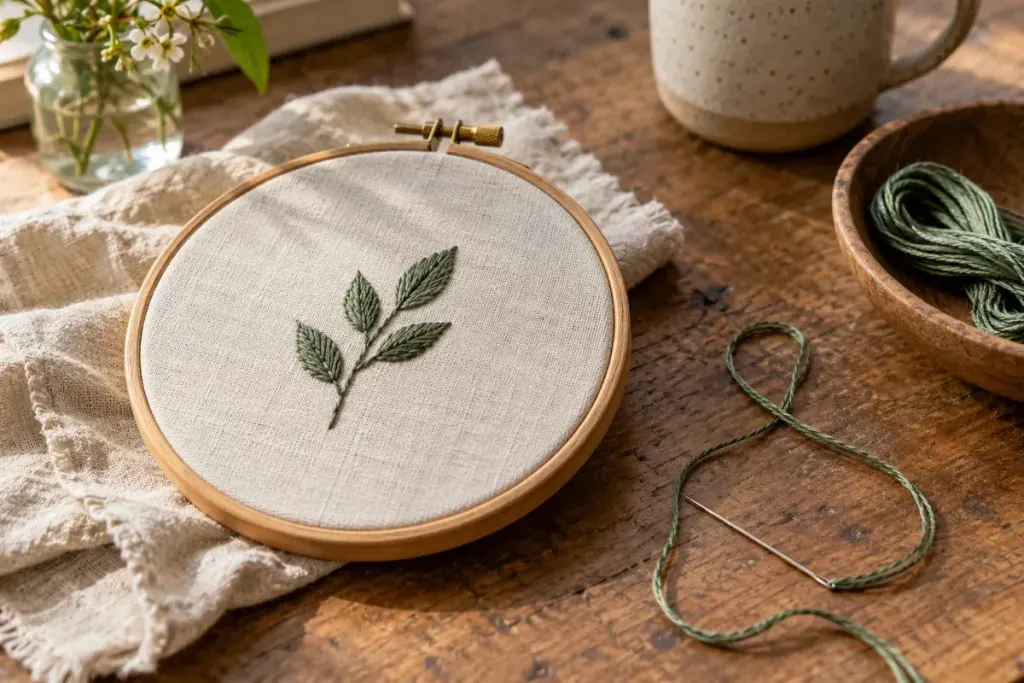
A small embroidered leaf looks tidy in the hoop but puckers when the fabric comes out. Before blaming every stitch, look at how the cloth was held. Uneven tension can make the working surface misleading.
Practise with a spare piece of the same fabric and your intended thread. The aim is a stable surface that remains true to its weave, not cloth stretched as tightly as you can pull it.
Start with the shape of the fabric
Lay the inner hoop beneath the cloth and position the outer ring over it. Keep the grain reasonably square as you secure the hoop. If a printed stripe or woven line bends sharply, adjust the placement before making the first stitch.
Tighten according to the hoop’s design. Smooth the fabric in small, balanced adjustments around the edge instead of hauling one corner sideways. Delicate or easily marked materials may need a different frame or protection; follow the fabric and equipment guidance.
Check the result outside the hoop
Work a short sample of the stitch you intend to use, then release the fabric. Look for puckering, stretched holes and marks from the ring. This separates a tension problem from a design you have already spent several evenings completing.
If the sample draws inward, repeat it with gentler thread tension rather than tightening the hoop further to hide the distortion. Change one part of the setup at a time so you can see what helped.
During the project, pause when the cloth loosens. Make the adjustment while watching the stitched area as well as the empty fabric. Do not pull completed stitches out of shape to restore a flat-looking surface.
Remove the work from the hoop between sessions when suitable for the material and method. Keep the successful sample with a note of the hoop, fabric and thread. It gives the next project a more useful starting point than a memory of how tight the screw felt.