
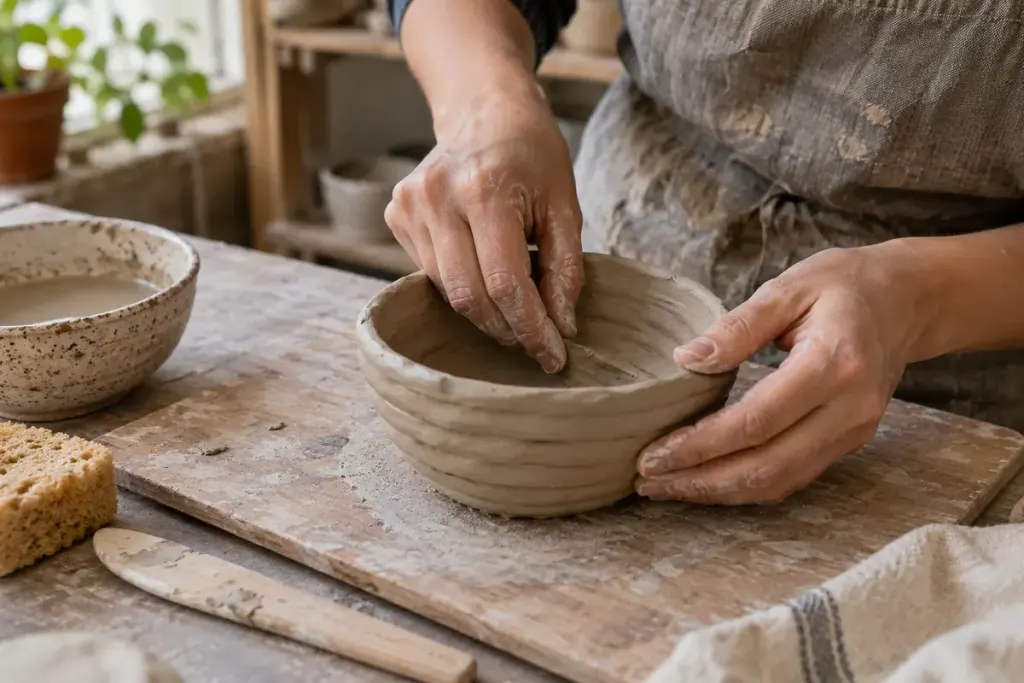
Stacking clay ropes produces a pot-shaped object surprisingly quickly. Making those ropes behave as one wall takes more attention. If the joins remain loose beneath a smooth-looking surface, the shape can hide weak seams until drying reveals them.
Choose one joining method and suitable clay
Work with clay intended for the process you are learning and follow your teacher’s or supplier’s instructions. Ceramic clay that needs kiln firing is not made food-safe by simply drying on a shelf. Start with a small practice piece whose purpose is learning the construction.
In this coil-building demonstration, the first coil is joined carefully to a slab base, and seams are blended as construction continues. The method distinguishes fresh, wet clay from a piece that has stiffened between sessions. That distinction is more useful than a rule that every coil always needs exactly the same treatment.
Watch the join from inside and outside
Support the wall while bringing adjacent clay together. Merely covering a gap with a thin surface smear does not tell you whether the underlying connection is sound. Check the base-to-wall join as well as the higher coils; it is easy to admire the rim and forget where the whole wall begins.
For a simple exercise, make a shallow bowl with only a few coils. Work around each join before adding the next. Pause to compare wall thickness in several places. If the bowl begins leaning or spreading, stop adding weight and ask whether the clay needs to firm up before continuing.
Keep unused clay covered and follow the studio’s drying routine. A wet new coil pressed onto a much drier wall creates a different problem from two freshly prepared pieces. Do not try to solve every change in firmness by flooding the surface with water.
Let the finished exercise tell you what to practise next: an even base, more consistent coils or better support while joining. Take a photograph before drying and note where any crack later appears. Those observations can guide your next small piece more effectively than immediately attempting a tall vase.