
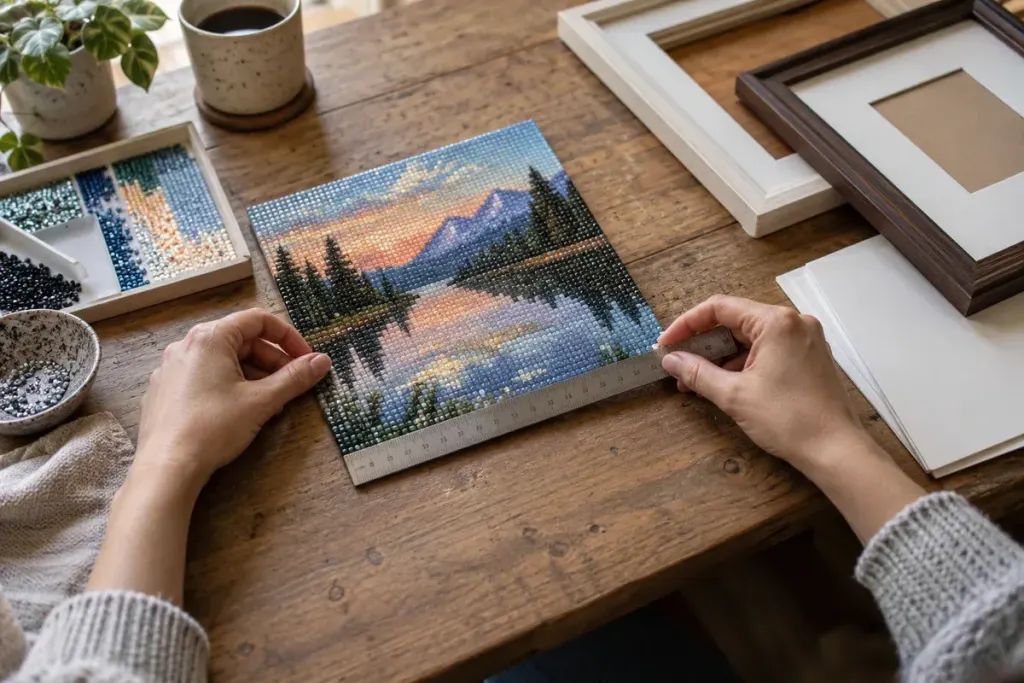
The last drill is in place and the picture finally looks complete. Reaching for the scissors is tempting, especially when the printed border seems too wide. Pause until you know how the work will be mounted: that spare canvas may be exactly what a particular display method needs.
Framing is a separate project from making the image. It involves the finished dimensions, the thickness of the drills, the support behind the canvas and the place where you intend to display it.
Measure the image and the canvas separately
Record the width and height of the completed drill area, then the full canvas dimensions. A kit’s advertised size and a frame’s labelled size may describe different things. Check the actual opening and usable depth rather than assuming two matching numbers guarantee a fit.
Use a clean, flat surface and avoid pulling the canvas taut while measuring. If it has been rolled, follow the kit maker’s guidance for flattening it. Do not apply heat or heavy pressure to the drills just because that method worked on an ordinary paper print.
Decide what should support the work
A frame, a mounted canvas and a hanging system require different amounts of spare border. The manufacturer’s diamond-painting display guide describes several framing and mounting approaches. Use the instructions for your own canvas and adhesive when selecting a method; advice for one product is not a guarantee for every kit.
Before committing to adhesive or trimming, make a dry fit. Place the work against the proposed support and check whether the visible opening covers any part of the design. Photograph the arrangement so you can compare alternatives without repeatedly handling the surface.
Think about depth, dust and reflections
The raised surface is the important difference from a flat photograph. A shallow frame can press against the drills or fail to close properly. If you want glazing, ask a framer about suitable spacing and support rather than forcing the work against the glass.
An unglazed display avoids some reflections but leaves the surface more exposed to dust and touching. Sealing is not automatically required, and an unsuitable coating can change the finish or affect the adhesive. Check the kit maker’s advice before adding anything permanent.
Choose the wall before the final cut
Hold a paper rectangle of the proposed frame size in the intended position. Consider glare, direct sunlight, humidity and whether people will brush against the piece. A finish that looks attractive on the worktable may be awkward in a narrow hallway.
Only trim when the mounting method and measurements are settled. Keep the offcuts and product instructions until the job is complete. A patient final half-hour can protect many evenings of careful work.