
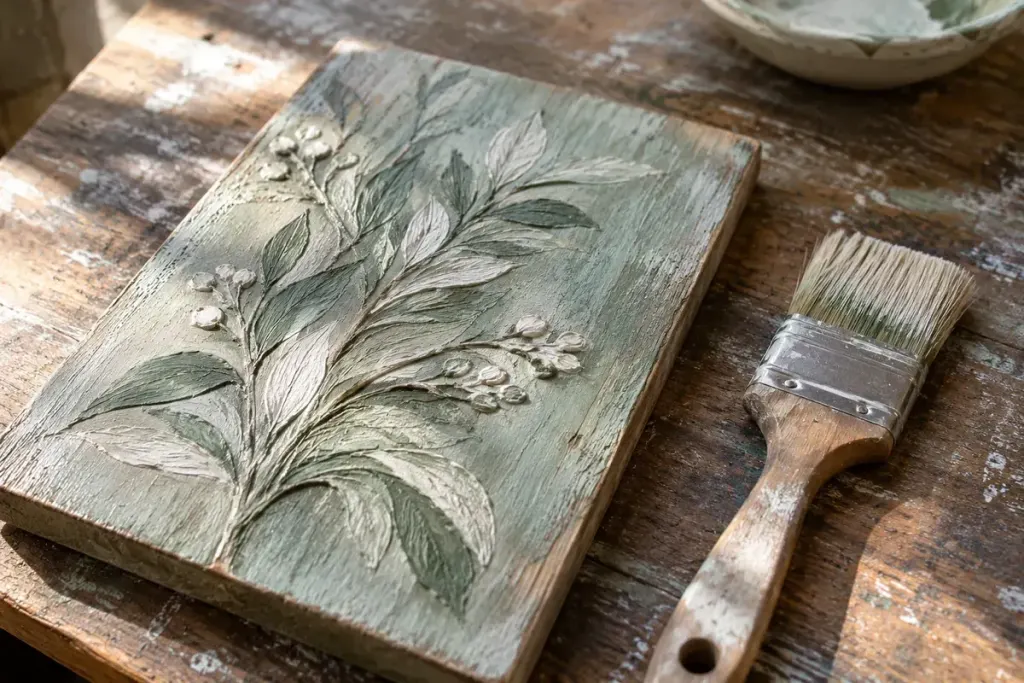
A raised pattern can disappear under a heavy coat of paint. Drybrushing takes the opposite approach: a small amount of colour catches the higher surfaces while much of the underlying finish remains visible. The useful skill is controlling the load on the brush.
Start on a sample with the same texture
Choose a scrap or inconspicuous area that resembles the finished piece. A smooth sheet of paper can show how much paint comes off the brush, but it cannot show how the bristles travel across ridges. Let the base coat dry according to the paint instructions before experimenting.
Pick up a little compatible paint, then work most of it off onto a suitable spare surface. Sweep lightly across the sample. If the first stroke fills the recesses, reduce the load before touching the main piece. If almost nothing appears, add a little rather than pressing harder.
Build the highlight in passes
Turn the sample toward the light after each pass. The aim might be a worn edge, a pale highlight or a subtle change across a moulding. Decide which before continuing: repeated strokes can gradually cover the contrast you wanted to preserve.
- Keep one untouched section as a comparison.
- Test the direction of the stroke across the raised pattern.
- Clean or change a brush that has become clogged.
- Follow product guidance for ventilation, drying and cleanup.
For a practice exercise, divide a textured offcut into three areas. Give the first one light pass, the second two and the third three. Compare them after drying, using the actual room lighting. This makes the stopping point visible instead of leaving it to memory.
A protective finish can alter sheen and colour, so test that complete finish on the sample too. Keep the successful sample beside the project as a reference. It is easier to match a physical example than a photograph taken under different light.