
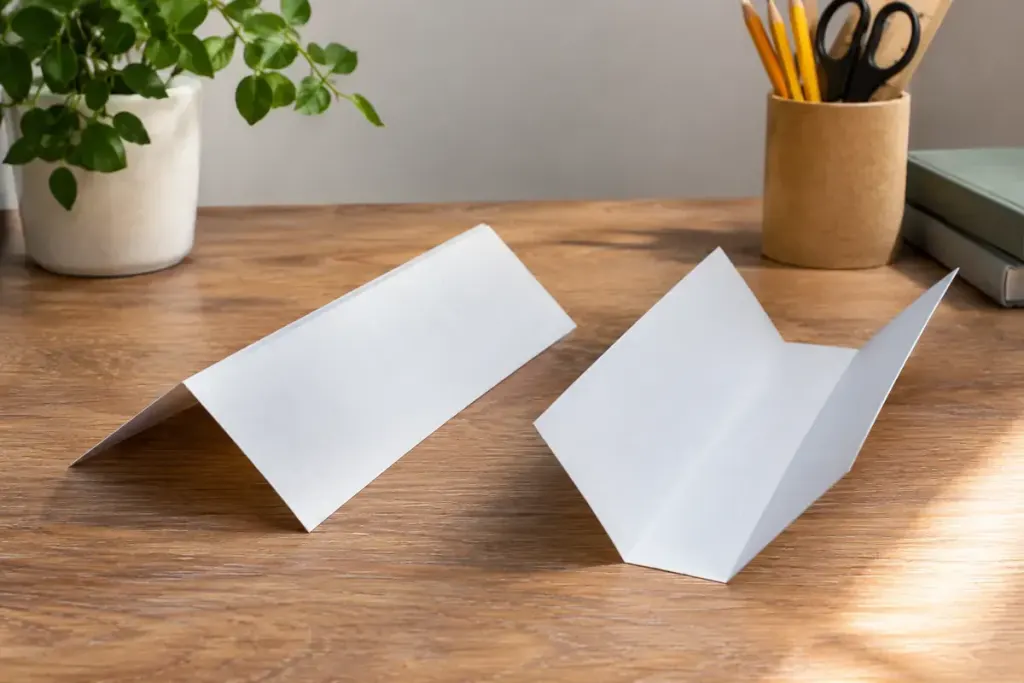
The same crease can look like a mountain from one side of a sheet and a valley from the other. That small fact explains a surprising number of confusing moments in a beginner’s origami diagram. The instruction describes the fold as seen in the drawing’s current orientation.
A mountain fold rises towards you along the crease, like a ridge. A valley fold dips away from you, like the bottom of an open book. You do not need a complicated model to learn the difference.
Make two samples you can turn around
- Take two small sheets of ordinary paper and mark one face of each with a pencil dot.
- Fold one in half, then open it slightly with the marked face inside the fold.
- Hold the second with its marked face outside the fold.
- Look from the marked side and describe the profile before rotating either sheet.
Now turn one sample over. The physical crease has not moved, but the description changes with your viewpoint. This is why a diagram’s instruction to turn the model over deserves the same attention as its instruction to make a new crease.
OrigamiUSA’s difficulty guidelines place mountain and valley folds at the beginner level, with clear reference points and tolerance for small errors. A model using only these folds can still teach careful alignment, orientation and reading order.
Use the diagram’s key, not a half-remembered line style
Many diagram systems distinguish folds with different broken lines, but print quality and publishers’ conventions vary. Look for the key provided with the instructions. Follow the arrow as well: it may indicate movement, a fold followed by unfolding, or a change in how you hold the model.
Before making a firm crease, bring the named corners or edges together and check the next picture. If the result seems impossible, return to the last orientation change. Reversing the whole model can solve a misunderstanding that pressing harder will only preserve.
Keep the two test samples beside your first project. They make a quick physical reference and let you rehearse a direction without repeatedly weakening the paper in the final model. Once the ridge and trough feel obvious in your hands, the diagram becomes a sequence you can follow rather than a collection of mysterious dashed lines.