
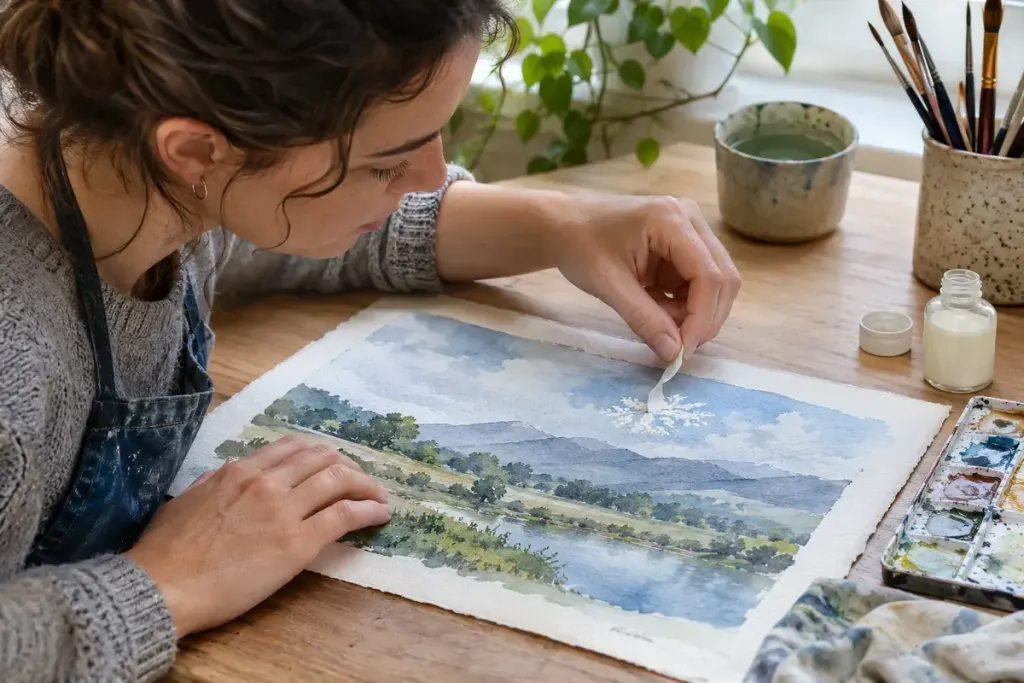
A bright highlight is satisfying when the masking fluid lifts cleanly away. The same moment becomes frustrating if fibres come up with it or a damp wash smears across the white area. Treat removal as part of the painting process, with its own drying check.
Test the complete combination
A spare strip of the same paper is more useful than an unrelated scrap. Apply the intended masking fluid, let it dry, add a little of the paint mixture and repeat the planned removal method. This checks the paper, product and handling together.
Winsor & Newton’s instructions for Art Masking Fluid describe applying that product to dry paper and explain how its removable latex layer works. Read your own product’s directions: a removable masking fluid and a permanent masking medium are not interchangeable supplies.
Let the final wash finish drying
The manufacturer’s watercolour masking guide places removal after the paint has dried. A surface can lose its shine while moisture remains in the sheet. On a heavily wetted painting, give the paper time rather than judging only the masked patch.
Begin at an inconspicuous edge with clean, dry hands or the tool your product recommends. Use a gentle motion and support the paper. If the surface starts to abrade, stop instead of rubbing harder. A successful small test is the reason to proceed; impatience is not a useful substitute.
For an original practice exercise, reserve three small highlight shapes on a sample sheet: a narrow line, a dot and a larger patch. Paint one wash across them, allow full drying, then remove the masks. Compare how easily each shape releases and how strongly its edge reads. This is a handling exercise, not a contest to cover the largest area.
Once the white is revealed, look at the whole painting before adding anything. Some highlights can remain crisp; others may need a small adjustment that connects them with the surrounding colour. Masking fluid preserves an option. It does not decide the final composition for you.