
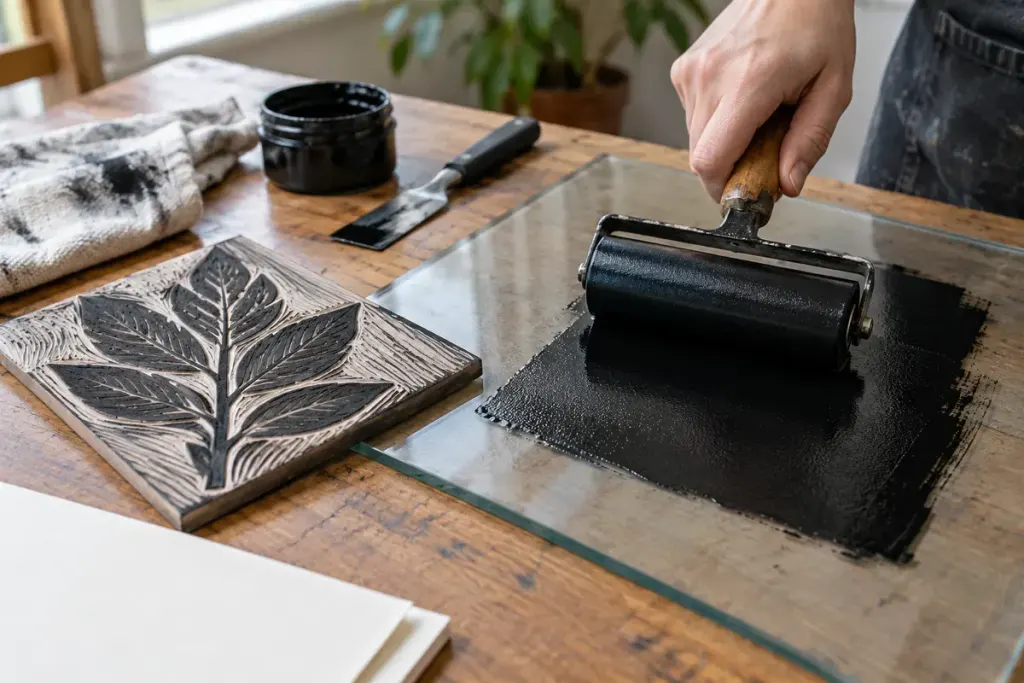
A pale linocut print often tempts a beginner to add a large second dollop of ink. Sometimes that helps; sometimes it fills the carved spaces and turns a crisp design into a dark patch. A small test is a better way to find out which problem you have.
The brayer carries ink onto the raised surface of the block. It does not need to fill the recesses. Begin with a modest amount of relief-printing ink on a suitable smooth inking surface, then roll it into an even film. Use the ink manufacturer’s instructions for the chosen ink, paper and cleanup method.
Watch the film, then inspect the print
Roll in more than one direction, lifting and repositioning the brayer so its surface receives ink evenly. A glossy mound that builds ridges is different from a thin, consistent layer. Do not judge only by the noise: rubber hardness, ink formulation and the surface can all alter the sound.
Make a test on the paper you intend to use. Lift it carefully and set it aside before adding anything. Ask three separate questions:
- Are the raised areas covered evenly?
- Have the small carved gaps remained open?
- Is the weakness in the same place on every print?
A repeatable pale patch may involve pressure, a low area in the block or uneven inking. Change one factor at a time. For an invented practice design of three leaves, you might keep the paper and hand pressure unchanged while trying a slightly thinner ink film on the next pull.
Jackson’s description of its rubber brayer identifies the tool’s use with lino and other relief blocks. Match the roller width and material to your project rather than assuming a larger tool automatically makes a better print.
Number the test sheets lightly in pencil and write down the change after each pull. Clean the tools as directed before ink dries where it should not. Three labelled experiments teach more than a pile of unrecorded prints and an increasingly thick layer of ink.