
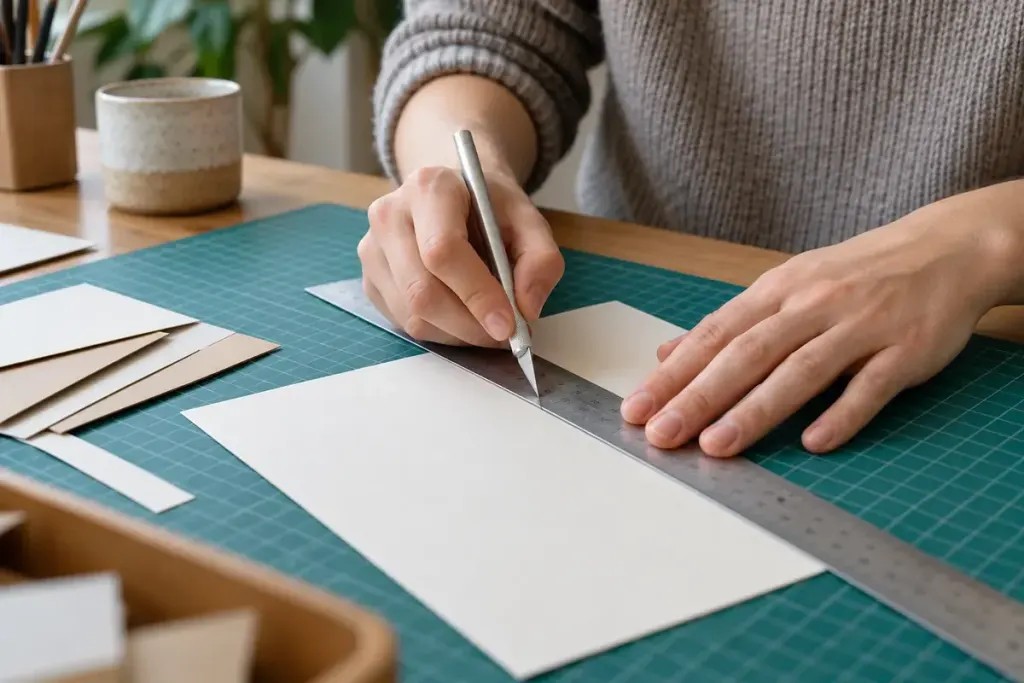
A small window cut into card can go wrong at the last corner. The blade twists, the paper tears and the clean edge you wanted becomes a repair job. Often the problem is the direction of the next cut, not a lack of force.
Before starting an intricate design, look at the shape as a series of accessible cuts. You should be able to see the line and keep your supporting hand clear. When the next edge would require an awkward wrist angle, lift the blade clear, reposition the work and start again from a controlled position.
A scrap-card rehearsal
Draw a simple rectangle on spare card of the same weight as the project. Place it on a suitable cutting mat. Follow the knife manufacturer’s handling instructions; OLFA’s cutter guidance is a useful starting point for its tools.
- Choose a comfortable direction for the first edge, with the cutting path away from your body and fingers.
- Make controlled passes appropriate to the material rather than forcing a deep cut.
- Lift the blade before turning the card or moving a straightedge.
- Inspect each corner before lifting out the waste piece. Do not pull hard on an uncut fibre bridge.
This practice reveals whether your design needs more space between cuts. A fragile paper bridge that repeatedly tears may be a design issue, not something a sharper turn can fix.
Pause when the tool starts dragging
A dull or damaged blade, an unsuitable material or an unstable work surface can all interfere with control. Stop and check the tool and its instructions instead of compensating with pressure. Handle blade changes and disposal according to the manufacturer; never leave loose blades among paper scraps.
For the finished piece, cut the most delicate areas while the surrounding sheet still offers support. Photograph the successful test and note the card used. Repeating a method becomes easier when you know which material and sequence produced the clean corner.