
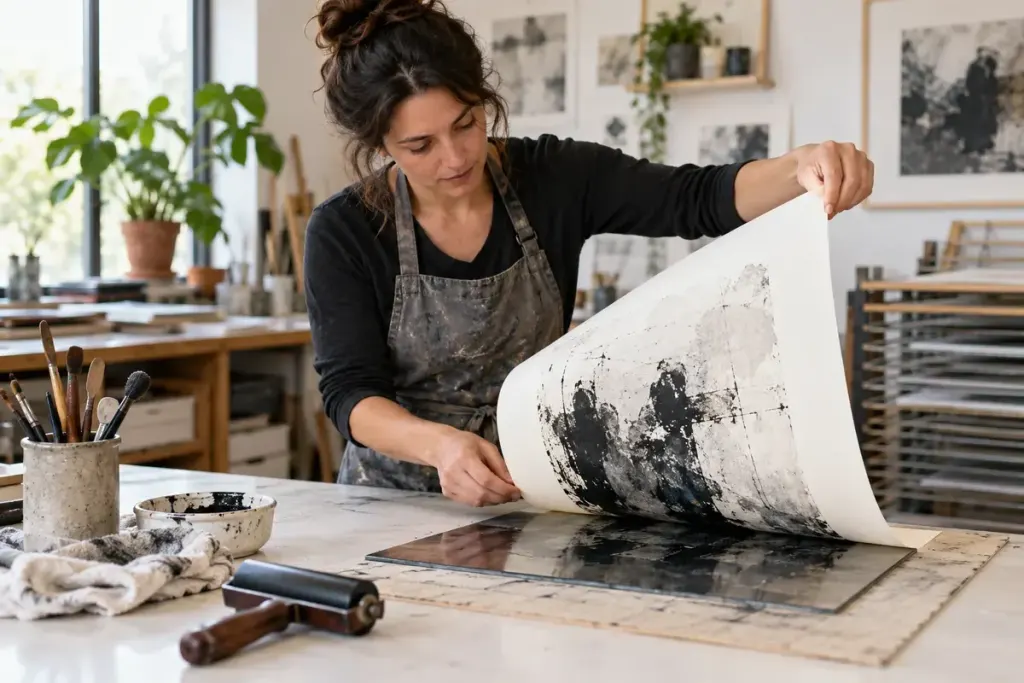
With a monotype, the reveal is part of the making. You work an image on a smooth plate, place paper against it, and lift the sheet to discover how the marks have transferred. The plate’s appearance and the finished impression need not be identical.
Tate describes Alan Davie’s Two Insects, Yellow as a monotype using an ink image transferred from glass to paper. For a home experiment, choose a purpose-made, smooth printing plate with safe edges and materials designed to work together. A historical technique is not a reason to handle a loose sharp pane.
Begin with a small, readable image
Try a few broad shapes and one contrasting line rather than a detailed scene. Set out the paper and a clean place to put the impression before applying ink. Follow the printing material’s directions for application, pressure and cleaning; suitable methods vary between products.
Remember that a direct transfer reverses the image. If your composition relies on a particular left-to-right direction, make a quick paper sketch first. The first exercise can use abstract shapes so you can concentrate on contact and transfer instead of correcting lettering.
Compare the pull with what remains
After lifting the paper, look at both surfaces. Which marks transferred strongly? Where did a gap, uneven pressure or a different ink thickness alter the result? If the materials allow another impression without re-inking, make a second pull and compare it with the first. It will not necessarily reproduce the same strength of image.
Label your practice sheets with the paper, ink, application method and which pull they represent. Those notes make a later experiment more useful than relying on memory. Keep cleaning materials away from food surfaces and follow the product’s ventilation and disposal instructions.
A successful first session does not require an edition of matching prints. It gives you a clearer sense of which decisions happen on the plate and which reveal themselves when the paper comes away.