
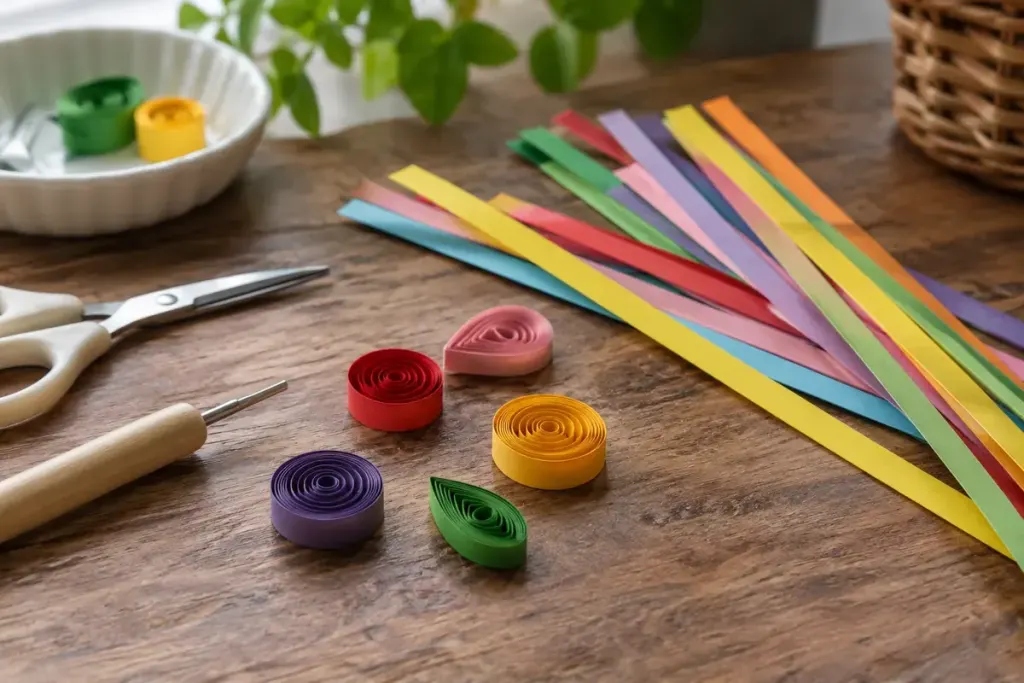
A quilled picture is built from paper edges. Narrow strips are rolled, released or pinched into shapes, then arranged so their raised outlines become the design. The material is ordinary; the interest comes from how much structure a small change of tension can create.
The V&A’s conservation account of a quilled frame describes the technique as paper filigree: thin strips rolled into forms that combine into a larger pattern. Looking at an elaborate historical object is inspiring, but a first exercise can be much smaller.
Learn one coil before making a flower
Cut or buy several strips of the same width. Roll one into a compact coil, then let a second relax slightly before securing its end. Place them together and compare their diameter and the spacing between their rings. That simple comparison makes tension visible.
Next, pinch one side of a relaxed coil to make a teardrop. Try a second with less pressure. Keep the successful shapes as samples instead of immediately gluing everything into a finished picture. They will explain more than a long list of shape names.
Arrange first, attach second
For a modest practice project, make five teardrops around a small circular centre. Dry-position the pieces on a firm backing and leave a little room between them. Check the design from above, then from a low angle; the height of the paper is part of its appearance.
Use a small amount of an adhesive suitable for the paper and backing. Test it on an offcut first. Excess adhesive can spread beyond the edge, while pushing a wet piece around repeatedly can distort a delicate coil. Attach a few pieces at a time and let the assembly settle.
When the work is dry, think about protection. A raised design needs clearance from the surface of a cover or frame. Ordinary flat mounting may press down the very shapes that make the piece interesting.
The aim of the first session is not an intricate finished panel. It is a set of repeatable coils, a clean attachment and an understanding of the spaces between shapes. Those three observations give the next design a much firmer starting point.