
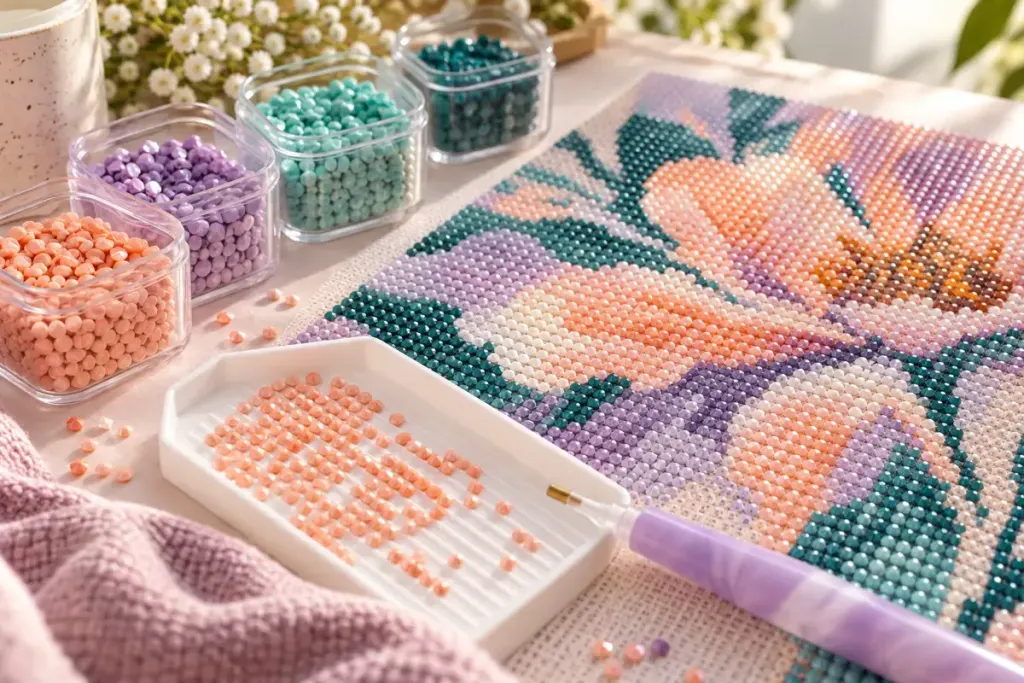
A large canvas can make a short session feel pointless. It helps to decide what “finished for tonight” means before you uncover any adhesive. One manageable patch is a useful result even when the whole picture will take weeks.
Diamond Art Club’s beginner instructions advise uncovering a small area and keeping the rest protected. They also recommend covering the canvas and returning unused drills to labelled bags when pausing. Check your own kit’s covering instructions, since materials can differ.
Choose a patch your hand can reach comfortably
Look at where your forearm and wrist naturally rest. Select an area that lets you work without leaning across exposed adhesive. Good light and a stable surface are more valuable than a complicated sectioning scheme.
Do not cut into the canvas to create sections. If you use separate release sheets, make sure the product is intended for the adhesive in your kit. Ordinary paper or unsuitable coverings can create a new problem while trying to solve a small one.
Let the symbol density set the goal
A patch with two large colour areas is a different evening from the same-sized patch filled with many small changes. Instead of assigning a fixed number of centimetres, look at the complexity and your available time.
For example, an illustrative plan might be “complete the dark outline in this corner, then fill the two largest colour areas.” Another might be “finish this small square before opening the next one.” Neither method is a rule; use the one that helps you keep your place.
Keep one active colour unambiguous
Place the open container beside the tray and keep other containers closed. Recheck the symbol when changing colours. If a symbol is difficult to read, pause and consult the printed key in better light rather than guessing.
When a piece lands incorrectly, follow the kit’s correction guidance. Avoid adding household glue or solvents as a quick fix unless the manufacturer specifically approves that treatment.
Stop before packing becomes rushed
Leave a few minutes to return drills, protect the surface and store the tools. The final check is simple: no unidentified colour in the tray, no exposed area that should be covered, and no loose small parts where someone might disturb them.
Write the next starting point on a separate note. “Resume at the leaf beside the completed pink flower” is enough; there is no need to write directly on the artwork.
If sorting is slowing every session, use our three-part labelling approach. The aim is a craft table that welcomes you back, with a clear first action instead of a puzzle about where you stopped.