
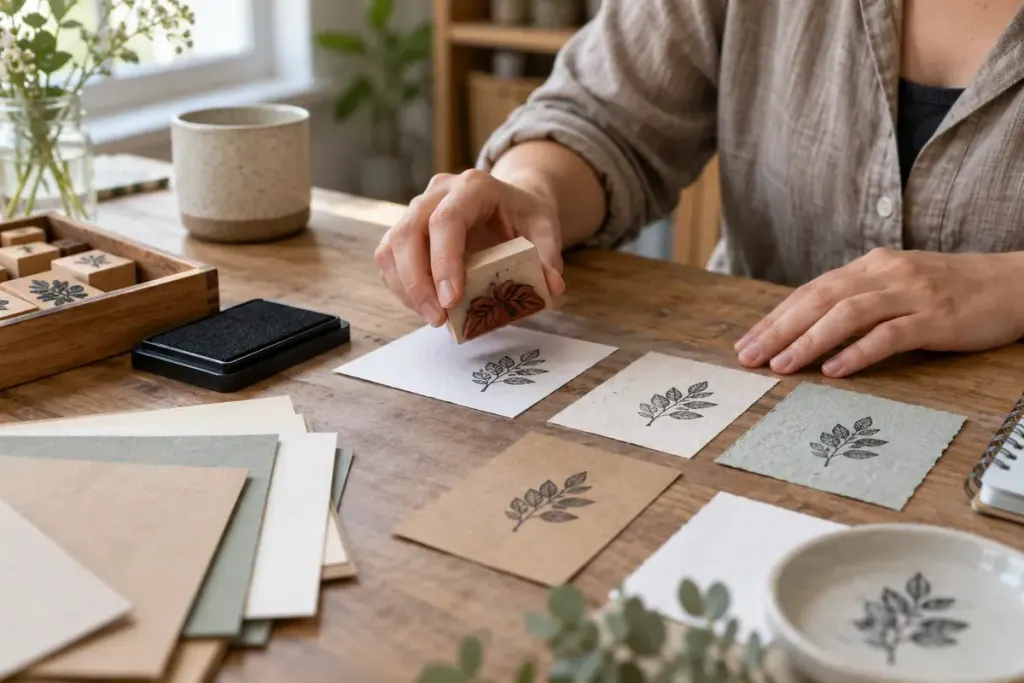
A freshly stamped image can look crisp while the ink is still vulnerable to a thumbprint. Another can appear slightly uneven until it dries into the paper. Before deciding that a pad or stamp is wrong for a project, let a small test show you what happens after the first impression.
Use an offcut of the paper you intend to use, not whichever scrap is nearest. Coated card, absorbent paper and textured stock can produce different results with the same ink. Label the reverse of each test so you can identify the combination later.
1. Look at the edge
Compare a fine line and a solid area. Is the outline distinct, or has ink spread into the paper? Is the centre filled evenly? Change one factor at a time, such as the amount of ink or the firmness of the impression. Repeatedly pressing harder can hide the real problem and distort a flexible stamp.
2. Check ordinary handling
Allow the drying time specified for the ink and surface. Test a spare corner gently before stacking pieces or folding a card. If the maker requires a particular curing method, follow it; do not improvise heat on an unknown material.
3. Try the next layer
If the design includes colouring, adhesive or a finish, apply that to a separate test impression. An ink that survives dry handling may react differently to a wet brush or coating. Let the complete sample dry before judging the result.
Keep the successful sample with a short recipe: paper, ink, stamp and finishing steps. There is no need for a complicated craft catalogue. One labelled offcut can prevent you from repeating a failed combination across twenty cards.
If the test still disappoints, decide which result matters most. A deliberately soft texture might suit a background but not small lettering. The useful test is the one that reflects the job the stamp will do in the finished piece.